
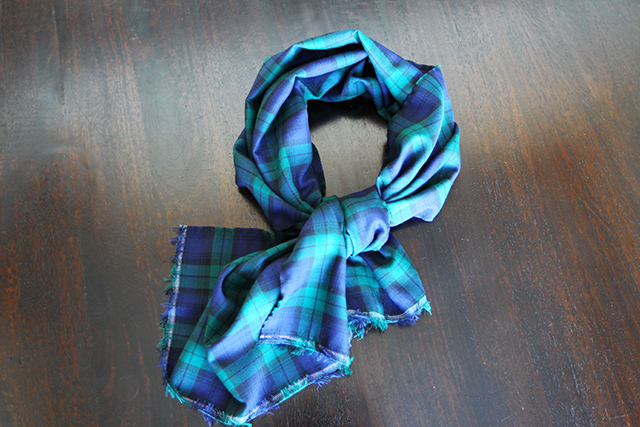
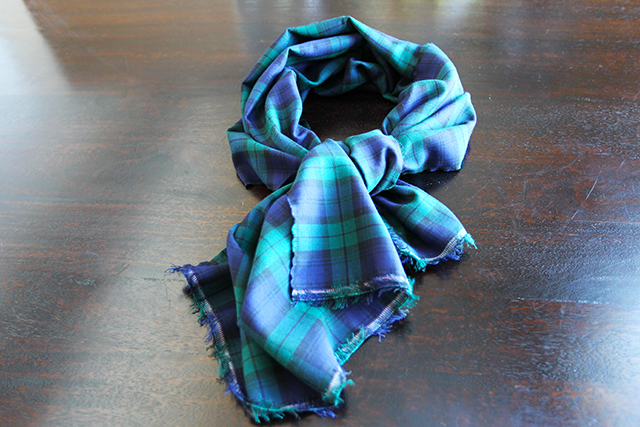
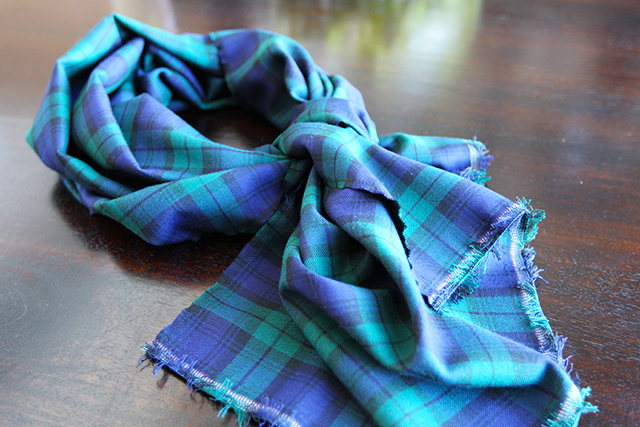
To say that I love scarves would be a complete understatement. This season I’ve especially taken a liking to the oversized variety. You know, the kind of scarf that has enough fabric to be considered a small blanket, perfect for travel, and impossibly chic. I’ve discovered, however, that getting my paws on such a scarf has been easier said than done, so in order to make my dreams a reality, I decided to make my own.
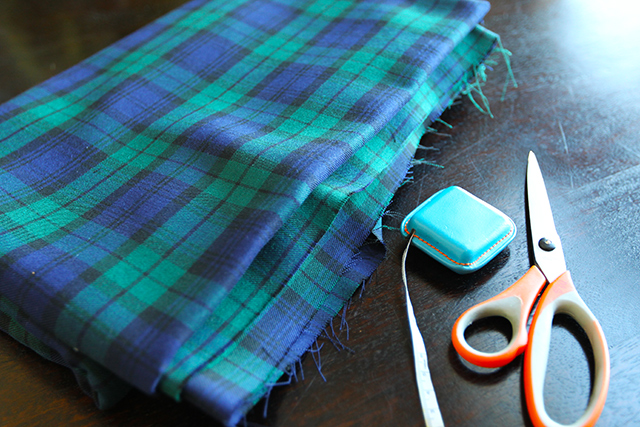
When looking for fabric that would be conducive to using as a scarf, take into account its drapability and hand. This fabric is going to be directly on your skin next to your face, make sure it’s soft enough to snuggle up with. Also, be sure to check with the fabric store employee on whether the fabric you have chosen is machine washable, and before you start the project, feel free to throw it in the laundry.
- Often times when purchasing fabric from a fabric store the cute ends will be uneven. Using a measuring tape, measure out the length and width you’d like your scarf to be and square off to cut in straight lines.
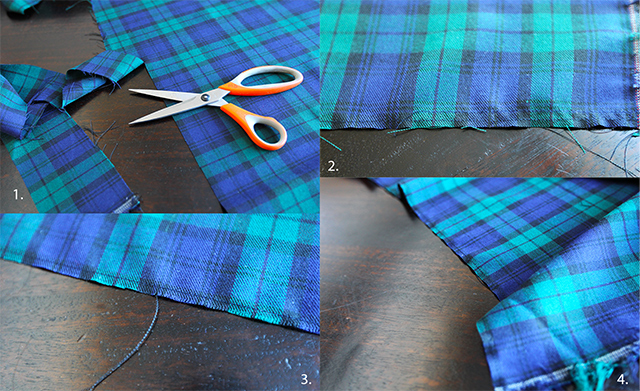
- If your fabric frays easily (as mine did) at the cut edges it’s a good idea to sew a straight line approximately 0.5cm from the edge. This will help prevent future fraying of the fabric.
- Pull any loose threads off of the cut edge to clean it up.
- Feel free to give it a quick press if need be. All fabrics have what is called a selvage edge. It may or may not work with the look of your scarf (mine did, so I left it alone). If it does not look aesthetically right with your scarf, follow the above directions to cut it off and finish the edge.


If you enjoyed this article, please consider sharing it!


